Color vectors
 | Use Docker > Object Properties to toggle the Object Properties docker on/off. Use it to select colors for vector outlines and fills. |
|---|
EmbroideryStudio lets you set colors for vector outlines as well as fills. Coloring makes vector objects easier to interpret. For example, a solid fill color might suggest Satin or Tatami, while a fill pattern may be interpreted as Motif Fill or Program Split.
To color vectors...
- Create or insert a vector graphic.
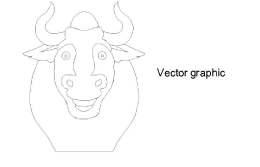
Ungroup the vector objects as necessary.
Select a vector object, right-click and select Properties from the popup menu. The Object Properties docker opens.
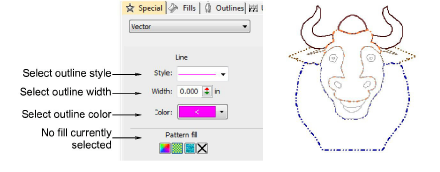
To change the outline color of the selected object, adjust the settings in the Line panel:
- Select an outline style from the Style list.
- Select an outline width from the Width field.
- Click Color and select an outline color from the Color dialog.
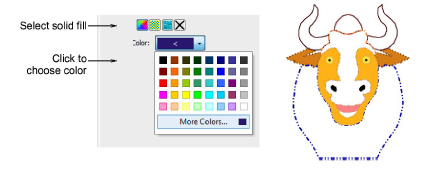
- To fill the selected object with a solid color, select the Solid Fill icon and click the Color droplist to access the colors.
- To fill the selected object with a pattern fill, select the Pattern Fill icon and adjust the settings:
- Select a pattern style from the droplist.
- Select a foreground color via the Front button.
- Make the background transparent as required or choose a color via the Back button.

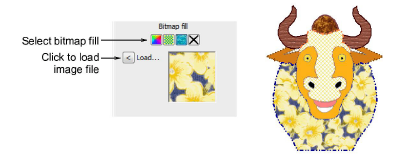
- To fill the selected object with a bitmap – e.g. a fabric texture – select the Bitmap Fill icon and click the Load button to insert an image file via the Open dialog.
Note
To view the changes in the production worksheet, select File > Print Preview. In the Options > Design tab select the Vectors checkbox.