Apply automatic underlay to branched objects
 | Right-click Stitch Effects > Auto Underlay to select an underlay type to apply to branched objects. |
|---|
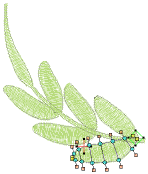 Because Branching combines objects to form a single branched object, you may be able to apply a single underlay to the entire object. The technique works well with Column A or Column B objects.
To apply automatic underlay to branched objects...
- Select the branched object and right-click Auto Underlay.

Select the First Underlay checkbox and select an underlay type.
Optionally, add a second underlay.
Press Enter or click Apply. Underlay stitches are automatically generated for the branched object.
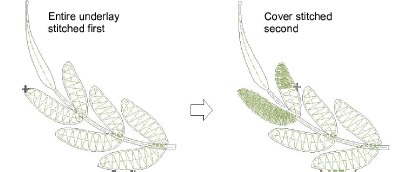
Note
If component objects are touching or overlapping, the underlay is first stitched out for the whole branched object followed by the cover stitch.