Prepare photos for auto-digitizing
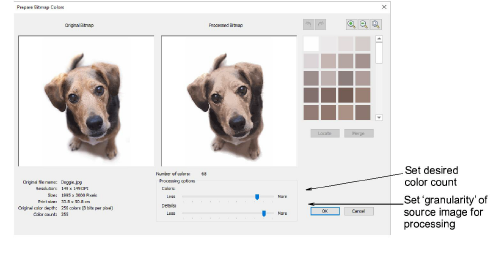
 | Use Auto-Digitizing > Prepare Bitmap Colors to reduce the number of colors and remove image ‘noise’ in non-outlined images. |
|---|---|
 | Use Auto-Digitizing > Adjust Bitmap to adjust image lightness and contrast in preparation for auto-digitizing. |
 | Use Auto-Digitizing > Crop Bitmap to crop bitmap artwork for use with auto-digitizing. |
 | Use Mode > CorelDRAW Graphics to import, edit or create vector artwork as a backdrop for embroidery digitizing, manual or automatic. |
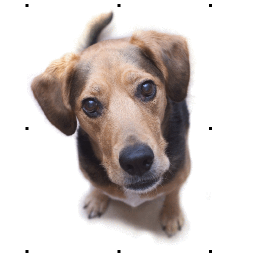
A degree of preparation is needed for any of the photographic auto-digitizing techniques. For best results, use crisp images with well-defined subjects and strong contrasts.
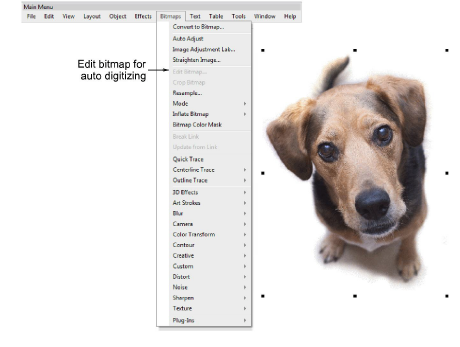
To prepare photos for auto-digitizing...
- Scan or insert the photo you want to use. For best stitching results, images are better imported via the CorelDRAW Graphics than Wilcom Workspace.
- If you cannot see the image, turn on Show Bitmaps.
- Optionally, crop the image.
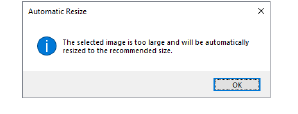
- Size the photo for its intended purpose. Optimal size is 150mm x 150mm or about 6" x 6". 210mm is about the limit for optimal results. You may be prompted to resize when you run one of the PhotoStitch features.
- If your graphics application supports it, try re-sampling the image while resizing.
- Optionally, use the Prepare Bitmap Colors tool to reduce the number of colors and remove image ‘noise’.
- Optionally, use Adjust Bitmap to adjust basic lightness and contrast.
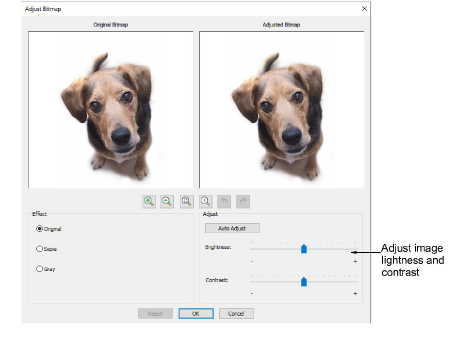
- First, try clicking Auto Adjust to allow the software to optimize image settings. This works well most of the time. Use Brightness and Contrast settings to sharpen the image further.
- Optionally, click Reset to return the image to default settings.
- Choose between image variations:
| Option | Function |
|---|---|
| Sepia | In photographic terms, ‘sepia’ refers to the dark-brown color of old-fashioned prints. Originally the process involved adding a pigment made from cuttlefish ink during development. |
| Gray | Grayscale images are ones composed exclusively of shades of gray, varying from black at the weakest intensity to white at the strongest. |
- Optionally, switch to Graphics Mode for alternative pre-processing.
- For the full range of image adjustment techniques, use a dedicated graphics program like Corel PHOTO-PAINT®. If installed, the Edit Bitmap option is available.